I've had several comments in the past about my layouts having oodles and oodles of layers and how I get my projects to look so dimensional. To start, you need a whole lot of paper, the embellishments you will be using and the general composition of your layout ready to go.
(click on photos for larger images)
I am a total thrift store shopper! I LOVE it! It is such a thrill to enter a huge store and come out with treasures galore for undr $5.00! Things I find at thrift stores include doilies, objects to alter, old/vintage lace, etc and books.
Here is an example of a vintage encyclopedia I picked up for $3.00! Look how thick this is! I will never use all these pages up - but they are just the perfect addition to my otherwise 2 dimensional layouts.
To get the dimension on my layouts that I love, here's what I do: Rip out a few pages from my trusty vintage book, crumple them up like you were going to throw them out.

Now gently unravel so that you have a very crumpled, and dimensional piece of paper. Glue this to your project making sure that there are raised portions. I often add several pieces to my layouts.
The best part about these crumpled pieces are that they raise the focal point of your layout as well as offer the perfect nooks and crannies with which to tuck the rest of your embellishments.
I tend to have white space issues. Any part of my layout that is 'bare' gives me anxiety. LOL! I need to cover things with embellishments and/or layer with paper. For this reason, I love the Noteworthy product from Bo Bunny! Tons of little bits of coordinating papers - the perfect size to tuck under your photos, etc. I will often only use parts of embellishments - I will cut stickers in half, cut flowers in half, cut trinkets in half, etc. so that just the part of the embellishment that I want to be shown is visible.

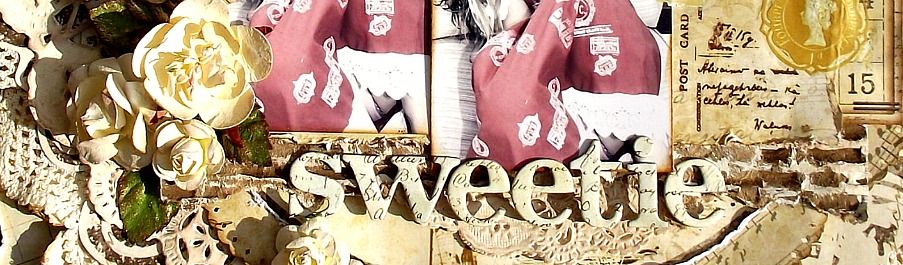
Here you can see my layout in each phase. Firstly, right after I have added the dimensional paper, next after adding a few embellishments and again after adding even more embellishments and layers.
And here is the finished layout - layers, dimension and all! Thanks so much for your visit today!!
Bunny Supplies
Patterned Paper: Stripe, Poppies, Trellies, Cut Outs, Garden, Sunrise/Serenade
Cardstock Stickers: Treasured Friend
Combo Stickers: Serenade
Chipboard: Serenade
Jewels: Serenade
Noteworthy: Serenade
Layered Chipboard: Serenade


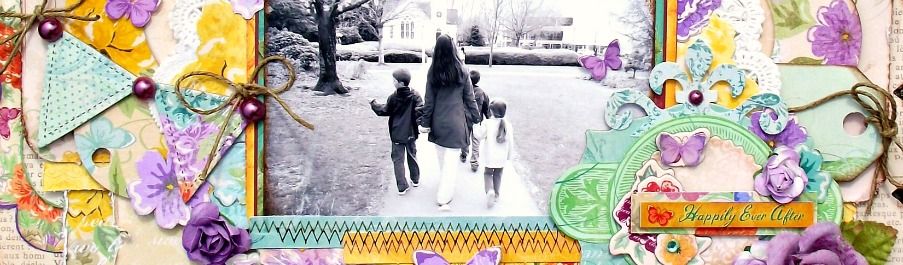


 Hello! Welcome to my blog. My name is Tara and I am a wife and mother to 3 beautiful children who are the heart and soul of my projects. I started scrapping in 2008 and loved it immediately. What a wonderful outlet to explore my love of crafting and photography. Thanks for stopping by.
 All content, including text, photographs and design work is