Happy Thursday!! SO glad you could join me today as I reveal one of my most favourite mini albums to date!
My parents recently celebrated their 37th Wedding Anniversary and I wanted to create something extra special for them. I dug up these old photos of the two
lovebirds on their wedding day and decided to create a mini album using the beautiful papers from
Graphic 45's Le Romantique Collection.
Here is the entire album for you... I'll show each individual page below.
I loved making this so very much. The photos were such an inspiration to me and the images and the whole feel of the collection from Graphic 45 pulled the project together effortlessly.
Love this shot. My mom coming out of her house with her dad. When I gave this to my parents the first thing my mom said was - oh look, 310.... (then she started to cry)
So young and so very beautiful!
For this page, I created a pocket in which I inserted a handmade envelope. Within the envelope I inserted my favourite recent photo of my parents with a sweet message on the back.
Here is the front of my envelope.
To create the scallop shape on the back, I simply used a maya road envelope as a stencil. I then punched out holes around the edges and used the 'Create a Brad' product from Stampin' Up to fasten my envelope together.

So yea. Its pretty thick eh? HA!!! The album came with those typical mini album rings. Um... not gonna happen... For the majority of mini album makers, they'd probably be totally fine. I tend to be rather 'layery' and '3D' so instead of the rings, I used fancy ribbon to adhere the album together.
The album, papers and most of the embellishments came from a fantastic Kit Club,
Scrap That!, who is featuring a special album kit loaded with papers from
Graphic 45's Le Romantique collection as well as some amazing embellishments and more!
Thank you so much for stopping by today!!!
Graphic 45 Supplies:
Le Romantique, 8x8 paper paper pad
Le Romantique, Daydreams
Le Romantique, Tags
Le Romantique, Le Romantique
Le Romantique, My Beloved
Le Romantique, Loves Labyrinth
Le Romantique, Frames
Other Supplies:
Glossy Accents by Ranger
Edge Scraper by Making Memories
Flowers by Prima and ETSY
Distress Ink in Vintage Photo by Ranger
White Pigment Ink by Studio g
Build a Brad by Stampin' Up!
Misc: Burlap, Twine, Crochet Doily, Acrylic Paint


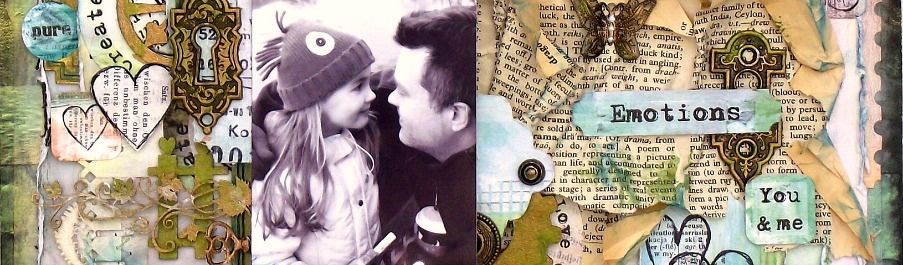


 Hello! Welcome to my blog. My name is Tara and I am a wife and mother to 3 beautiful children who are the heart and soul of my projects. I started scrapping in 2008 and loved it immediately. What a wonderful outlet to explore my love of crafting and photography. Thanks for stopping by.
 All content, including text, photographs and design work is Copyright © Tara Orr and is shared solely for personal inspiration and may not be copied for profit or gain in publications or contest submissions. Written permission is required. Thank you!